Estimated reading time: 12 minutes
Key Takeaways
- Always document the bike’s condition with photos and videos before taking possession to protect yourself from false damage claims
- Ensure you have proper documentation: passport copy (never the original), valid motorcycle license, and International Driving Permit
- Conduct a thorough 5-minute inspection covering tires, brakes, lights, and engine condition before accepting the rental
- Never leave your original passport as deposit – reputable shops accept photocopies plus cash deposits
- Upgrade to comprehensive insurance coverage for peace of mind – the extra 50-100 THB per day is worth it
- Test ride the bike around the block to check brakes, throttle response, and overall handling
- Clarify fuel policies upfront and document the fuel level to avoid disputes at return
Table of Contents
- Why You Absolutely Need a Checklist Before Renting a Motorbike in Thailand
- The Paper Trail: Your Essential Motorbike Rental Documentation Thailand
- The Handover: Your Step-by-Step Scooter Handover Process Thailand
- The 5-Minute Scan: What to Check Before Renting Scooter
- The Full Inspection: A Detailed Motorbike Condition Inspection Rental Checklist
- Proving It: How to Inspect Rental Motorbike and Document Everything
- Avoiding a Bad Trip: Common Rental Pitfalls in Thailand
- On the Road: Final Tips for a Great Experience
- Ready to Ride Smart

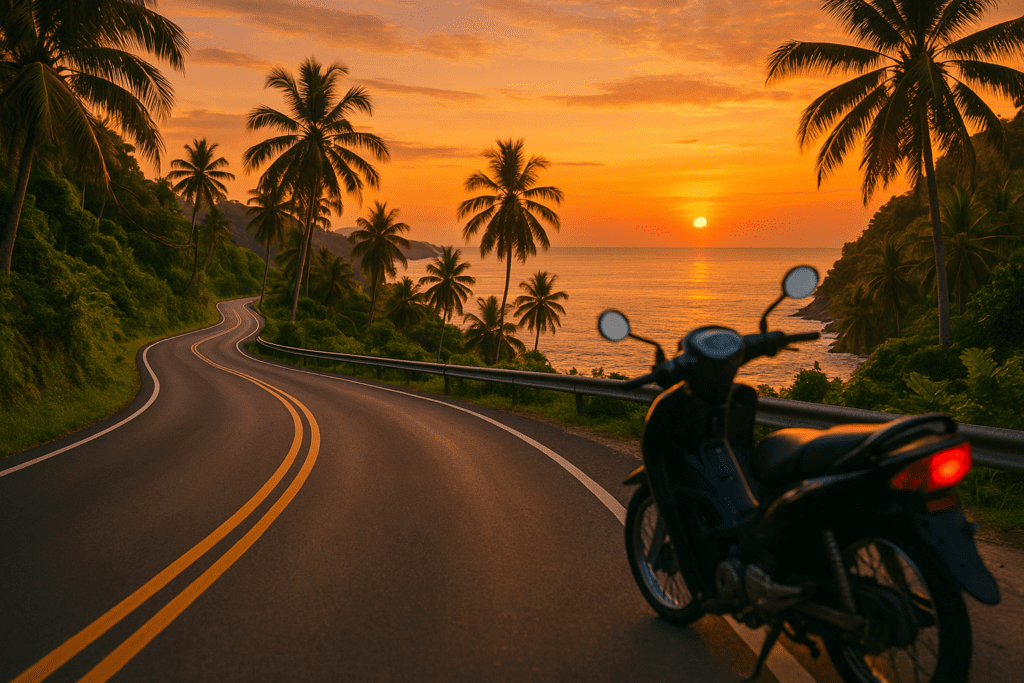
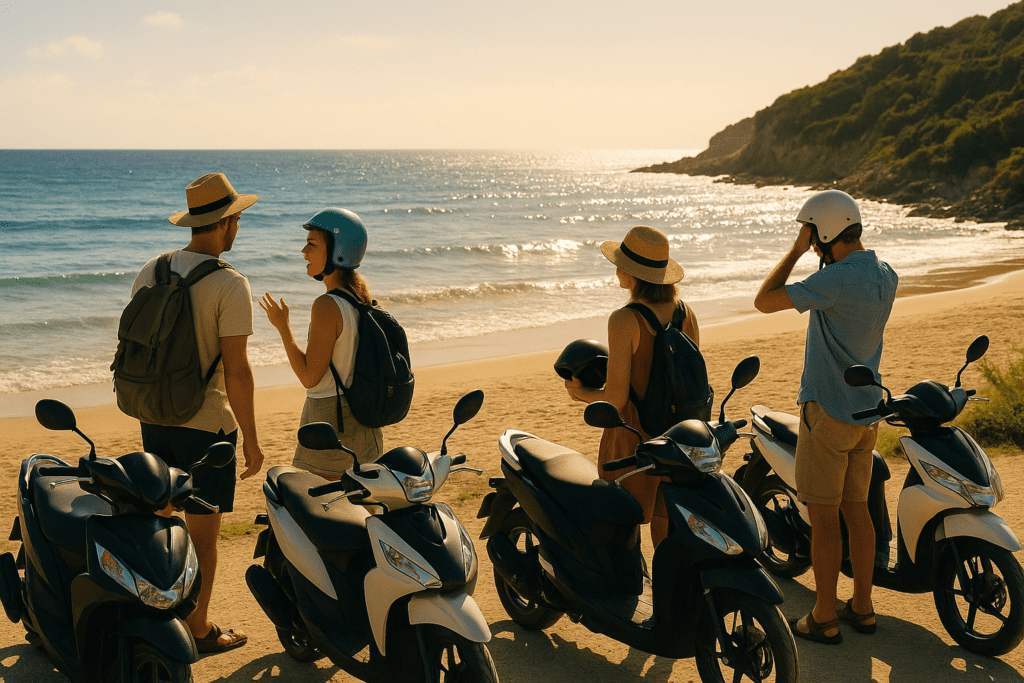
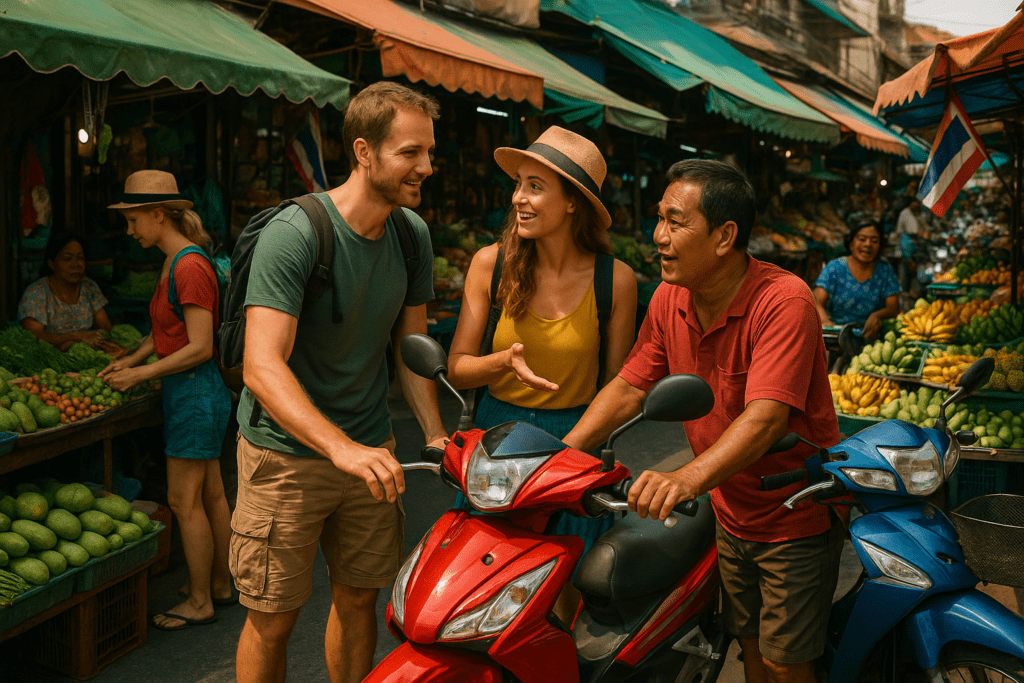
Picture this: You’re cruising down Thailand’s stunning coastal highway, the warm breeze hitting your face as you navigate winding mountain passes and bustling city streets. Palm trees blur past while you discover hidden beaches and local markets that tour buses never reach.
There’s honestly nothing quite like the freedom of exploring Thailand on two wheels.
But here’s the thing – while renting a motorbike opens up incredible adventures, it can also lead to some pretty nasty surprises if you’re not prepared. We’re talking about surprise damage fees that mysteriously appear when you return the bike, getting stopped at police checkpoints without proper documentation, or worse – finding yourself on a bike with dodgy brakes halfway up a mountain.
This is exactly where a comprehensive motorbike rental checklist Thailand becomes your best friend and potential wallet-saver.
Think of this guide as your step-by-step roadmap covering everything from the paperwork headaches to that final inspection when you hand back the keys. By the time you’re done reading, you’ll know exactly how to rent safely, avoid the common tourist traps, and actually enjoy your ride instead of worrying about what could go wrong.

Why You Absolutely Need a Checklist Before Renting a Motorbike in Thailand
Look, I get it. Checklists can feel a bit over-the-top when you’re on vacation and just want to grab a scooter and go. But trust me on this one – a methodical approach protects you in three crucial ways that’ll make the difference between an amazing trip and a complete disaster.
Enhancing Your Safety
First up is safety, and this isn’t just about wearing a helmet (though you absolutely should). A proper checklist ensures you don’t overlook critical safety components like brake function, tire condition, or headlight operation. More importantly, it makes sure you’re carrying the right legal documents and have adequate insurance coverage. Getting pulled over at a checkpoint without proper documentation isn’t just embarrassing – it can result in hefty fines and confiscated bikes. For more extensive safety advice, check out our Top 10 Tips for Staying Safe While Riding a Motorbike in Thailand.
Protecting Your Wallet
Here’s where things get really important for your bank account. The number one way to avoid being wrongly charged for damages is meticulously documenting the bike’s condition with photos and videos before you ride off. I’ve heard countless stories of travelers getting hit with bills for scratches that were already there or “damage” that looks suspiciously like normal wear and tear. Reading the fine print also helps you spot hidden fees for things like excess mileage or insurance add-ons. Read about common rental pitfalls and how to avoid them.
Reducing Your Stress
Nothing beats the peace of mind that comes from knowing you’ve got all your paperwork sorted, understand exactly what you’re signing, and can confidently handle a police checkpoint without breaking into a nervous sweat. When you know the process inside and out, you can focus on enjoying the ride instead of constantly worrying about what might go wrong.
A Quick Look at Common Rental Practices in Thailand
Motorbike rentals are literally everywhere in Thailand, but the quality and professionalism vary wildly. You’ll find everything from professional shops with newer bikes and clear policies to backyard operations where the “contract” is a handshake and a prayer.
Generally speaking, rental shops in major tourist hubs like Chiang Mai, Phuket, and Bangkok offer better-maintained bikes and clearer rental policies. The documentation is usually more thorough, and they’re more likely to follow proper procedures. Check out Phuket rental guidelines and local practices.
To skip the guesswork entirely, consider using a trusted online platform like Byklo.rent, which aggregates pre-vetted rental shops and lets you compare bikes and book in advance. It’s particularly handy if you want to secure a specific bike type or ensure you’re dealing with reputable operators. For a comprehensive overview of renting scooters across Thailand, refer to our Motorbike Rental Thailand Guide: Scooters from 150 THB/Day.
Most tourists go for 110-160cc automatic scooters, with 125cc models like the Honda Click hitting that sweet spot of power and affordability. They’re peppy enough for highway riding but still easy to handle for beginners. For a detailed look at beginner-friendly bikes and engine-size recommendations, see The Best Motorcycles to Hire for Beginners in Thailand.
One thing to note: while the legal minimum age is 18, many shops set their own age requirements. Don’t be surprised if they want you to be 24 or older for larger-engine bikes, especially if you’re renting something above 150cc.
The Paper Trail: Your Essential Motorbike Rental Documentation Thailand
Getting your paperwork sorted is probably the least exciting part of renting a bike, but it’s also the most important. Miss something here, and you could find yourself in legal hot water or dealing with insurance headaches later.
Passport
Your passport is obviously required for identification, but here’s a crucial point: never leave your original passport as a deposit. I can’t stress this enough. Reputable shops will accept a clear photocopy plus a cash deposit instead. Your passport is way too important to leave sitting in some random shop’s drawer, and you’ll need it for hotels, flights, and other activities.
Driver’s License and International Driving Permit (IDP)
This is where things get a bit complicated, so pay attention. While many smaller rental shops may only glance at your home country license (or not check anything at all), Thai law actually requires you to have both your valid home country motorcycle license AND an International Driving Permit with the correct motorcycle endorsement.
Yes, loads of tourists ignore this requirement and nothing happens. But here’s the catch – riding without both documents can completely invalidate your travel insurance if you have an accident. It can also lead to fines at police checkpoints, and some officers are getting stricter about this, especially in tourist areas. For full details on license and permit requirements, see International Driving License Thailand 2025: 6-Step IDP.
Cash Deposit
A refundable cash deposit is standard practice across Thailand. You’re typically looking at anywhere from 1,000 to 10,000 THB depending on the bike’s value and the shop’s policies. Newer bikes and more expensive models naturally require higher deposits. This money gets returned in full when you bring the bike back undamaged – assuming you’ve documented everything properly at the start.
Rental Agreement Deep Dive
The rental agreement is where the devil lives in the details, so don’t just sign and hope for the best.
Insurance: This clause deserves serious attention. Basic compulsory insurance is often included in the rental price, but it’s pretty minimal coverage. I highly recommend upgrading to comprehensive or first-class insurance that covers theft, damage to the rental bike, and third-party liability. The extra cost (usually 50-100 THB per day) is absolutely worth it for the peace of mind. To understand insurance options and coverage tiers, read our Motorbike Rental Insurance Thailand: 4 Tiers & 5,000 THB.
Mileage Limits: Many rental agreements include daily kilometer limits – often around 200km per day. Exceed this, and you’ll face extra charges that can add up quickly if you’re planning longer rides or multi-day trips.
Photo Documentation: Before you leave the shop, take clear photos of every page of the signed contract, especially the damage diagram. Store these in your phone and consider emailing them to yourself as backup. You’ll thank yourself later if any disputes arise.
The Handover: Your Step-by-Step Scooter Handover Process Thailand
The actual pickup process might seem straightforward, but there’s a specific workflow that protects both you and the rental shop. Here’s exactly how it should go down:
- Arrive with your documents ready – Have your passport copy, driver’s license, IDP, and deposit cash organized and easily accessible.
- Present your documentation – The shop will record your details and make copies for their records.
- Review and sign the rental agreement – Don’t rush this step. Ask questions about anything unclear, especially insurance coverage and damage policies.
- Pay the deposit and rental fee – Get a receipt for everything you pay.
- Receive the keys and bike documents – You should get the compulsory insurance paper and a copy of the registration. Double-check that these documents match the actual bike you’re renting.
Requesting a Guided Walkthrough
Here’s a pro tip: politely ask the rental agent to walk around the bike with you, pointing out the controls and any pre-existing damage. Good shops do this automatically, but asking shows you’re serious about the process and helps establish a professional relationship from the start.
This walkthrough is your first line of defense against future disputes and the beginning of properly learning how to inspect rental motorbike condition.
Signing Off
Make absolutely sure that every scratch, dent, or mark is noted on the rental contract’s damage diagram. Both you and the agent should initial each noted item. Don’t let them rush you through this – your deposit depends on getting this right.
Request a physical copy of the agreement or take clear photos of every page before you leave the premises. Once you’re gone, it’s much harder to resolve any documentation issues.
The 5-Minute Scan: What to Check Before Renting Scooter
Before diving into the detailed inspection, do a quick visual sweep to spot any major deal-breakers. This initial scan helps you decide whether to proceed with a thorough check or simply walk away and find another bike.
Visual Inspection
Bodywork: Look for large cracks in the plastic panels, missing pieces, or damage that suggests the bike has been in a serious accident. Small scratches are normal, but major damage could indicate mechanical problems.
Seat: Check for large rips that might make riding uncomfortable, or a broken seat hinge that prevents the storage compartment from locking properly.
Mirrors: Both mirrors should be present, securely attached, and adjustable. Missing or loose mirrors aren’t just inconvenient – they’re illegal and unsafe.
Functional Inspection
Horn: Give it a quick beep to ensure it’s loud and clear. You’ll need this for Thailand traffic.
Lights & Indicators: Turn the key to the on position and systematically check that the front and rear lights work. Test all four turn signals – left and right, front and rear. Squeeze both brake levers (front brake is the right lever, rear is the left) to make sure the brake light activates with both.
This quick scan takes maybe five minutes but can save you from renting a bike with serious problems that’ll ruin your day.
The Full Inspection: A Detailed Motorbike Condition Inspection Rental Checklist
Now comes the most critical part of the entire process. This detailed motorbike condition inspection rental checklist is your insurance policy against unexpected charges and safety issues.
Tires
Check that the tires feel firm when you press them with your thumb – they shouldn’t feel soft or squishy. Look at the tread depth; you should see clear grooves rather than bald, smooth rubber. Inspect the sidewalls carefully for any cracks, bulges, or cuts that could lead to a blowout.
Brakes
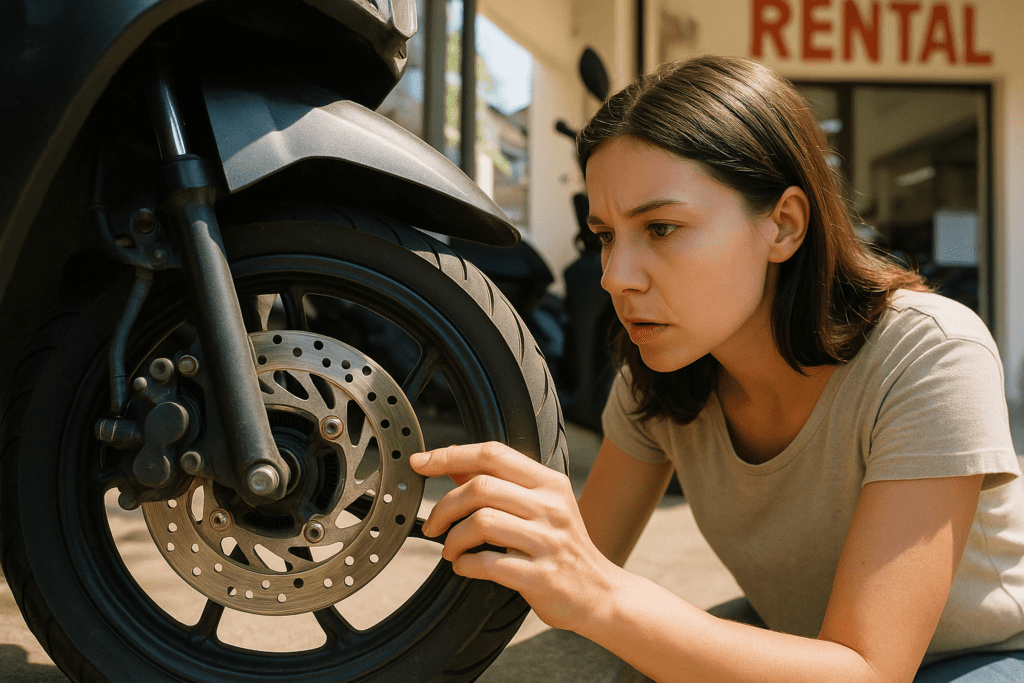
Squeeze both brake levers and pay attention to how they feel. They should engage progressively and feel firm, not “spongy” or pull all the way back to the handlebar. If you can see the brake discs, look for extreme wear, deep grooves, or rust.
Suspension
While the bike is stationary, push down hard on the handlebars and then bounce the rear by pressing on the seat. The bike should compress and return smoothly without making clunking noises. Check the front forks for any visible oil leaks – wet spots around the fork seals indicate problems.
Electricals
This is where you get methodical. Test the headlight on both low and high beam settings. Check that the tail light illuminates. Test the brake light by squeezing each lever. Go through all four turn signals again. Make sure the instrument panel lights up properly and that the speedometer and fuel gauge appear to be working.
Engine & Exhaust
Start the engine and listen carefully. You want to hear a relatively smooth idle without loud knocking, grinding, or rattling sounds. Look under the bike for any drips of oil or fuel – fresh puddles suggest leaks that could worsen during your rental.
Frame & Chassis
Walk around the bike and look along the main frame for significant rust patches or cracks in the welds. Check that the handlebars are straight and that the bike generally looks like it’s been maintained rather than abused.
Proving It: How to Inspect Rental Motorbike and Document Everything
Here’s where your smartphone becomes your most valuable tool. Creating undeniable proof of the bike’s condition protects you from false damage claims and gives you leverage if disputes arise.
Your Smartphone is Your Best Witness
Pull out your phone and start recording a video. Begin by clearly stating the current date, time, and location. Then walk slowly around the entire bike, filming from all angles and distances.
Zoom in closely on every single scratch, scuff, dent, or mark while narrating what you’re pointing at: “This is a scratch on the left side panel,” “Here’s a scuff on the front fender,” and so on. Also film the odometer to record the starting mileage and the fuel gauge to document the fuel level.
This video evidence is gold if the rental shop tries to claim you caused damage that was already there. Learn more about documentation strategies for rental protection.
The Crucial Test Ride
Politely ask the rental agent if you can take the bike for a short test ride around the block or in the immediate area. Most reputable shops allow this, and it’s your chance to check things you can’t evaluate while stationary.
During the test ride, pay attention to: Do the brakes work smoothly without pulling the bike to one side? Does the throttle respond smoothly without hesitation or surging? Does the bike track straight when you briefly loosen your grip on the handlebars?
Platforms like Byklo.rent often work with rental shops that have standardized, transparent inspection processes, making this documentation step much smoother and less awkward for customers.
Avoiding a Bad Trip: Common Rental Pitfalls in Thailand
Even with a solid checklist, there are specific traps that catch tourists off guard. Here’s how to sidestep the most common ones.
Hidden Damage Fees
Your video and photo evidence from the inspection is literally your only protection against false damage claims. A verbal agreement or handshake deal with the rental agent means absolutely nothing when money is on the line. I’ve heard too many stories of travelers getting charged hundreds of dollars for “damage” that was clearly pre-existing but not properly documented. Read about protecting yourself from rental scams.
Unclear Fuel Policies
There are typically two fuel policies, and the difference matters for your wallet. “Full-to-Full” means you receive the bike with a full tank and must return it full – any missing fuel gets charged at premium rates. “As-Is” means you get whatever fuel is currently in the tank and should return it with a similar amount.
Always clarify which policy applies and take a photo of the fuel gauge at pickup. Some shops will try to switch policies at return time if you don’t have proof of the original fuel level.
Unauthorized Use
Don’t make any modifications to the bike, even something as simple as adding stickers or hanging items from the handlebars. Also, respect the passenger and load limits specified in your rental agreement. Violating these terms can void your rental agreement and insurance coverage, leaving you liable for any damage or accidents.

On the Road: Final Tips for a Great Experience
Once you’ve got your perfectly inspected bike and all your paperwork sorted, there are still some crucial points to keep in mind for a safe and enjoyable ride.
Wear a Helmet & Proper Gear
Wearing a helmet isn’t just strongly recommended – it’s required by Thai law and frequently enforced. Make sure the helmet fits snugly with the chinstrap properly secured. A loose helmet is almost as dangerous as no helmet at all.
I also strongly recommend wearing closed-toe shoes and long pants rather than flip-flops and shorts. Road rash from even a minor spill can ruin your vacation, and proper clothing provides crucial protection. Get comprehensive safety tips for riding in Thailand.
Understand Local Road Customs
Remember that Thailand drives on the LEFT side of the road – this trips up more visitors than you’d expect. Thai traffic can be pretty chaotic, with sudden overtakes, lane changes without signals, and vehicles appearing from unexpected directions.
Drive defensively and expect the unexpected. On rural roads, watch out for animals, especially dogs that like to chase motorcycles and water buffalo that couldn’t care less about your schedule.
Emergency Preparedness
Before you ride off, save a few crucial phone numbers: the rental shop’s number, the Tourist Police (1155), and the general emergency number (191). Having these readily available can save precious time if something goes wrong.
The Return Process
When it’s time to return the scooter, give it a basic cleaning if it’s excessively dirty – a quick rinse at a gas station usually does the trick. Refuel to the agreed-upon level and keep the fuel receipt as proof of purchase.
Do a final walkthrough with the rental agent, referencing your initial inspection video if needed. Don’t leave until you get written confirmation that the bike has been returned in acceptable condition and your full deposit refunded. Learn about proper return procedures and deposit recovery.

Ready to Ride Smart
A methodical inspection using a proper checklist really is the key to a fantastic, worry-free scooter rental experience in Thailand. It might seem like overkill when you’re excited to start exploring, but the few extra minutes spent on documentation and inspection can save you hundreds of dollars and countless headaches.
The freedom of exploring Thailand on two wheels is absolutely incredible – winding through rice paddies, discovering hidden waterfalls, and stopping at roadside food stalls whenever something looks interesting. With the right preparation and a solid motorbike rental checklist Thailand approach, you can focus on enjoying every moment instead of worrying about what might go wrong.
Have you rented a motorbike in Thailand before? I’d love to hear about your experiences or any additional tips that might help fellow travelers ride safer and smarter. The more we share knowledge, the better prepared everyone becomes for their own Thai adventures.
Ready to hit the road? Rent your motorbike effortlessly from Byklo.rent and enjoy a worry-free ride!
Frequently Asked Questions
Do I need an International Driving Permit to rent a motorbike in Thailand?
Yes, Thai law requires both a valid motorcycle license from your home country AND an International Driving Permit (IDP) with motorcycle endorsement. While many rental shops may not check, riding without proper documentation can invalidate your travel insurance and result in fines at police checkpoints.
Should I leave my passport as a deposit when renting a motorbike?
No, never leave your original passport as a deposit. Reputable rental shops will accept a clear photocopy of your passport plus a cash deposit instead. Your passport is too important to leave in a shop drawer and you’ll need it for hotels, flights, and other activities.
How much cash deposit should I expect to pay for a motorbike rental in Thailand?
Cash deposits typically range from 1,000 to 10,000 THB depending on the bike’s value and the shop’s policies. Newer bikes and more expensive models require higher deposits. This money is returned in full when you return the bike undamaged.
What’s the most important thing to do before taking possession of a rental motorbike?
Document everything with photos and videos. Record a video walking around the entire bike, showing every scratch, dent, or mark while narrating what you’re filming. Also photograph the odometer, fuel gauge, and all pages of the rental contract. This is your only protection against false damage claims.
Is it worth upgrading to comprehensive insurance for my rental motorbike?
Absolutely. While basic compulsory insurance is often included, upgrading to comprehensive or first-class insurance (usually 50-100 THB per day) covers theft, damage to the rental bike, and enhanced third-party liability. The peace of mind is worth the small extra cost.
What should I check during the motorbike inspection before renting?
Conduct a thorough inspection covering: tire condition and pressure, brake function and feel, lights and turn signals, horn operation, engine sound and starting, suspension movement, and overall frame condition. Take a short test ride to check brakes, throttle response, and steering.
Can I modify or customize the rental motorbike during my rental period?
No, don’t make any modifications including adding stickers, hanging items from handlebars, or mechanical changes. Also respect passenger and load limits specified in your rental agreement. Violating these terms can void your rental agreement and insurance coverage.
What should I do if I’m stopped at a police checkpoint while riding a rental motorbike?
Stay calm and present your passport (or copy), valid motorcycle license, International Driving Permit, and the bike’s compulsory insurance papers and registration documents (provided by the rental shop). Having all proper documentation ready will help you avoid fines and complications.


